
The ASUS Maximus VIII Hero, a 2015 ROG gaming motherboard, boasts a striking black and grey aesthetic with red accents․ It’s designed for enthusiasts seeking high performance and robust features․
Overview of the Motherboard
The ASUS Maximus VIII Hero is a high-end motherboard built around the Intel Z170 chipset, designed for 6th and 7th generation Intel Core processors․ It’s a full ATX form factor board, offering ample space for expansion and customization․ The board features a robust power delivery system, crucial for stable overclocking, and supports DDR4 memory at high speeds․
Visually, it departs from the traditional red and black ROG scheme, embracing a silver and grey color palette which many found refreshing․ Connectivity is extensive, including USB 3․0 ports, SATA 6Gb/s, and M․2 slots for ultra-fast storage․ The inclusion of SupremeFX audio and Intel Gigabit Ethernet further enhances the user experience, making it a compelling choice for gamers and power users alike․
Key Features and Specifications
Key features of the Maximus VIII Hero include its 5-Way Optimization, providing automated tuning for overclocking and cooling․ It supports up to 64GB of DDR4 RAM, reaching speeds of 4400MHz with overclocking․ Storage options encompass six SATA 6Gb/s ports and one M․2 slot supporting PCIe Gen3 x4 for NVMe SSDs․
Specifications highlight the Intel Z170 chipset, LGA 1151 socket, and SupremeFX audio technology․ Connectivity includes USB 3․0, USB 3․1 Type-A and Type-C ports, and Intel Gigabit Ethernet․ The board also features ROG Hyper Alloy components for durability and stability․ Its design prioritizes both performance and aesthetic appeal, making it a standout choice for enthusiasts․

Unboxing and Initial Inspection
The unboxing reveals a premium experience, showcasing the ROG aesthetic․ The motherboard is securely packaged with accessories, reflecting ASUS’s commitment to quality and protection․
Package Contents
The ASUS Maximus VIII Hero package is quite comprehensive, catering to both first-time builders and seasoned overclockers․ Included are several essential components beyond the motherboard itself․ You’ll find a detailed user manual, providing step-by-step guidance for installation and BIOS configuration․ Six SATA 6Gb/s cables are provided for connecting storage devices, ensuring fast data transfer speeds․
Additionally, the package contains an I/O shield, crucial for proper rear panel connectivity and protection․ A 2-way SLI bridge connector allows for multi-GPU configurations, maximizing graphics performance․ ASUS also includes ROG themed cable labels, aiding in organization and a clean build aesthetic․ Finally, a DVD containing drivers and utilities completes the package, offering everything needed to get the system up and running smoothly․
Visual Examination of the Board
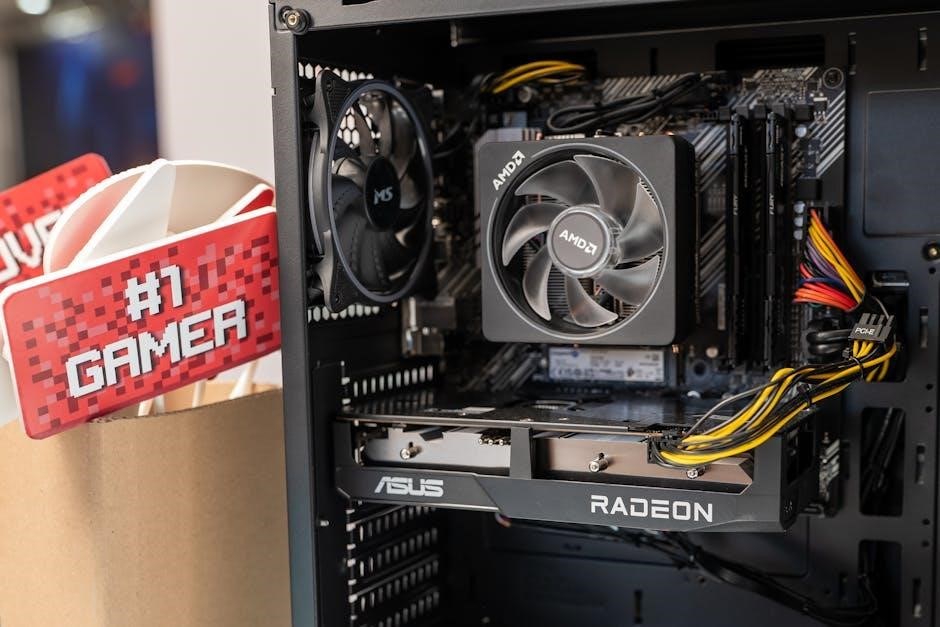
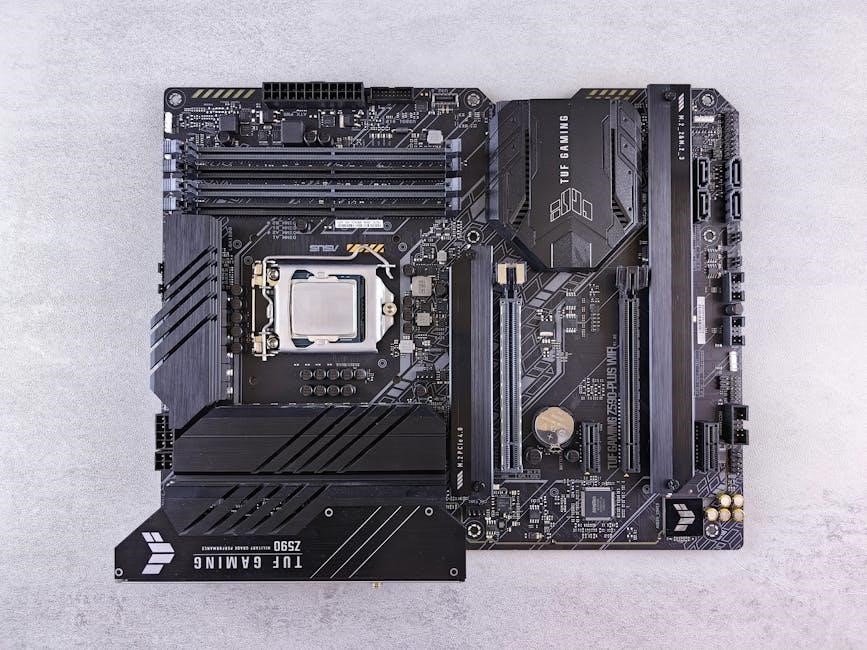
The ASUS Maximus VIII Hero presents a visually appealing design, departing from the overly-used red and black schemes․ A sophisticated silver and grey color palette dominates, offering a fresh aesthetic․ The robust VRM heatsinks immediately catch the eye, promising excellent power delivery for overclocking․ Reinforced PCIe slots, crucial for heavy graphics cards, are clearly visible;
Numerous fan headers are strategically placed around the board, facilitating optimal cooling solutions․ The rear I/O panel is well-populated with a variety of ports, including USB 3․0 and audio jacks․ ROG branding is subtly integrated throughout, adding a touch of exclusivity․ Overall, the board exudes quality and attention to detail, suggesting a premium build experience․
BIOS Setup and Navigation
Accessing the UEFI BIOS is typically done by pressing Delete during boot․ The intuitive interface allows for easy configuration of system settings and overclocking parameters․
Accessing the UEFI BIOS
Entering the UEFI BIOS on the ASUS Maximus VIII Hero is a straightforward process, crucial for configuring hardware settings and enabling advanced features․ Typically, you’ll need to press the “Delete” key repeatedly during the initial startup sequence, immediately after powering on the system․

Pay close attention to the boot screen; it usually displays the key required for BIOS access․ If “Delete” doesn’t work, consult the motherboard manual as it might vary․ Ensure no USB devices are actively interrupting the boot process, as this can sometimes prevent BIOS access․
Once inside, you’ll be greeted with the ASUS UEFI BIOS interface, offering a graphical user interface for easy navigation and configuration․ From here, you can adjust boot order, monitor system health, and explore overclocking options․
Understanding BIOS Sections
The ASUS Maximus VIII Hero’s UEFI BIOS is logically organized into several key sections․ “Main” displays system information like CPU temperature and voltages․ “AI Tweaker” is the heart of overclocking, allowing adjustments to CPU multipliers, voltages, and memory timings․ “Advanced” offers detailed control over chipset settings, storage configurations (SATA, M․2), and onboard devices․

“Monitor” provides real-time monitoring of system voltages, temperatures, and fan speeds․ “Boot” lets you configure the boot order and enable/disable fast boot options․ “Tool” includes features like ASUS EZ Flash for BIOS updates and system information tools․
Navigating these sections is done using the arrow keys, and changes are saved using the F10 key․ Careful exploration of each section is vital for optimizing system performance and stability․
Updating the BIOS
Updating the BIOS on the ASUS Maximus VIII Hero is crucial for compatibility and performance improvements․ Utilize the ASUS EZ Flash utility, accessible within the UEFI BIOS itself (typically found in the “Tool” section)․ Download the latest BIOS version from the official ASUS support website, ensuring it’s specifically for the Maximus VIII Hero․
Copy the BIOS file to a FAT32-formatted USB flash drive․ Within EZ Flash, select the BIOS file and follow the on-screen prompts․ Do not interrupt the process – a power outage during a BIOS update can render the motherboard unusable․
ASUS also recommends clearing CMOS after a BIOS update for optimal stability․ Always read the release notes accompanying the new BIOS version to understand the changes and potential impacts․

Hardware Installation Guide
Installing components onto the Maximus VIII Hero requires careful attention to the manual․ Proper CPU, RAM, and GPU placement are essential for optimal system functionality․
CPU Installation
Preparing for CPU installation on the ASUS Maximus VIII Hero demands meticulous care․ First, lift the CPU socket lever, located on the side, to the open position․ Align the CPU’s golden triangle with the corresponding marker on the socket․ Gently place the CPU into the socket; it should sit flush without requiring force․
Securing the CPU involves carefully lowering the socket lever back into its locked position․ Ensure it’s fully secured to maintain proper contact․ Incorrect installation can prevent booting or even damage the processor․ Refer to the motherboard manual for detailed diagrams and warnings․ Always handle the CPU by its edges to avoid damaging the pins․
Applying thermal paste is the final step before cooler installation․ A small, pea-sized amount in the center of the CPU is generally sufficient․
RAM Installation and Configuration
Installing RAM on the ASUS Maximus VIII Hero requires opening the retaining clips on the DIMM slots․ Consult the manual for the correct slots to use for your desired configuration (dual or quad channel)․ Align the notch on the RAM module with the key in the slot, and press down firmly and evenly on both ends until the clips click into place․
Configuration is key; the manual details optimal slot population for performance․ Ensure RAM modules are identical for best results․ The BIOS allows for XMP (Extreme Memory Profile) activation, automatically setting the RAM to its advertised speeds and timings․ Without XMP, RAM will likely run at a slower default speed․
Verify compatibility with the QVL (Qualified Vendor List) on the ASUS website․
GPU Installation
Installing your graphics card into the ASUS Maximus VIII Hero is straightforward․ First, locate the primary PCIe x16 slot – it’s typically the longest and closest to the CPU․ Open the retaining clip at the rear of the slot․ Align the graphics card’s edge connector with the slot, and press down firmly and evenly until it clicks securely into place and the clip closes․
Ensure adequate power is connected to the GPU via the appropriate PCIe power connectors from your power supply․ The manual details the recommended PSU wattage for various GPU configurations․
Double-check the card is firmly seated before powering on the system․ Proper installation prevents potential issues and ensures optimal performance․

Overclocking with the Maximus VIII Hero
The Maximus VIII Hero excels in overclocking, allowing users to push their Core i7-6770K to 4․8GHz or beyond, unlocking significant performance gains with careful adjustments․
CPU Overclocking Techniques
Achieving stable overclocks with the Maximus VIII Hero requires a methodical approach․ Begin by incrementally increasing the CPU multiplier in the UEFI BIOS, monitoring temperatures closely․ Utilize stress-testing software to validate stability after each adjustment․ Voltage adjustments are crucial; carefully increase Vcore while observing thermal output․
The board’s robust VRM design supports significant overclocking headroom․ Experiment with different LLC (Load-Line Calibration) levels to minimize voltage droop under load․ Remember that silicon lottery plays a role – not all CPUs overclock the same․ Prioritize thermal management with a high-performance cooler․ Document each step for easy rollback if instability occurs, and always prioritize a stable, reliable overclock over pushing for the absolute maximum frequency․
Memory Overclocking
Maximizing RAM performance on the Maximus VIII Hero involves adjusting XMP profiles and manual timings․ Enable the XMP profile in the BIOS for a pre-configured overclock, then fine-tune timings for optimal stability and speed․ Start by increasing the DRAM frequency in small increments, testing for errors with memory-intensive benchmarks․
Adjust DRAM voltage cautiously, monitoring temperatures․ Explore subtimings for further refinement, but be aware that aggressive timings can lead to instability․ The board supports high-speed DDR4 modules, but compatibility varies․ Consult the QVL (Qualified Vendor List) for tested memory kits․ Remember to save your BIOS settings frequently and document changes for easy reversion if needed, ensuring a stable and performant memory configuration․
Voltage Adjustments
Precise voltage control is crucial for stable overclocking with the Maximus VIII Hero․ Adjust CPU Vcore carefully, starting with small increments, and monitoring temperatures closely․ Excessive voltage can damage components, while insufficient voltage leads to instability․ Utilize the Load-Line Calibration (LLC) settings to minimize Vcore droop under load․
Similarly, adjust DRAM voltage incrementally, observing memory stability․ CPU System Agent voltage and other related voltages may require adjustments for higher overclocks․ Always prioritize stability over maximum frequency․ Monitor VDIMM, VCCSA, and VCCIO voltages․ Document all changes and revert to default settings if instability occurs․ Proper cooling is essential when increasing voltages to prevent thermal throttling and component damage․

Connectivity and I/O
The Maximus VIII Hero offers a comprehensive array of ports, including USB 3․0, SATA 6Gb/s, and M․2 slots, alongside premium audio and networking capabilities․
USB Ports and Functionality
The ASUS Maximus VIII Hero provides an extensive selection of USB ports to accommodate a wide range of peripherals and devices․ This includes multiple USB 3․0 ports, delivering significantly faster data transfer speeds compared to older USB standards․ Several USB 2․0 ports are also present for compatibility with legacy devices․
Notably, the motherboard features USB 3․1 Gen1 ports, offering even greater bandwidth for demanding applications․ Additionally, front panel USB connectors allow for convenient access to USB ports on the computer case․ The BIOS settings enable customization of USB power delivery and charging capabilities, optimizing performance and compatibility with various devices․ Careful consideration was given to port placement for ease of access and cable management․
SATA and M․2 Storage Options
The ASUS Maximus VIII Hero offers a comprehensive array of storage options, catering to both traditional and cutting-edge needs․ It features six SATA 6Gb/s ports, supporting high-capacity hard drives and solid-state drives for substantial storage capacity․ RAID 0, 1, 5, and 10 configurations are supported, enhancing performance or data redundancy․
Furthermore, the motherboard incorporates an M․2 slot, enabling the installation of ultra-fast NVMe SSDs․ These drives deliver significantly faster read and write speeds compared to SATA SSDs, resulting in quicker boot times and application loading․ The M․2 slot supports various form factors, providing flexibility in SSD selection․ Careful attention to chipset compatibility ensures optimal performance and stability for all connected storage devices․
Audio and Networking Features

The ASUS Maximus VIII Hero prioritizes immersive audio and reliable networking․ It’s equipped with the SupremeFX audio solution, delivering high-definition sound with a signal-to-noise ratio of 115dB․ This ensures clear and detailed audio reproduction for gaming and multimedia experiences․ Premium audio capacitors and shielding contribute to exceptional sound quality․
For networking, the motherboard features an Intel Gigabit Ethernet controller, providing stable and fast wired connections․ Integrated 802․11ac Wi-Fi offers convenient wireless connectivity with high throughput․ Bluetooth 4․0 is also included, enabling seamless connections with wireless peripherals․ These features combine to deliver a robust and versatile networking experience for demanding users․
Troubleshooting Common Issues
Common problems with the Maximus VIII Hero include boot failures, USB connectivity glitches, and BIOS configuration errors; resetting the BIOS often resolves these issues․
Boot Problems
Experiencing boot failures with the ASUS Maximus VIII Hero can stem from several sources․ First, ensure all components – CPU, RAM, GPU – are correctly seated and compatible․ A failing PSU or incorrect BIOS settings are also frequent culprits․ Try the “Clear CMOS” procedure, usually involving a jumper on the motherboard, to reset the BIOS to its defaults․
If the system still fails to POST (Power On Self Test), attempt booting with minimal hardware: one RAM stick, no GPU (using integrated graphics if available)․ Check the motherboard’s Q-Code LED display for error indications․ Consult the manual for Q-Code definitions․ A corrupted BIOS can also cause boot issues; consider BIOS flashback if supported, using a USB drive with the correct BIOS file․
USB Connectivity Issues
Troubleshooting USB problems on the ASUS Maximus VIII Hero often involves driver conflicts or power delivery issues․ Ensure you’ve installed the latest USB drivers from the ASUS support website, specifically for Windows 10 or 11․ Try different USB ports – the motherboard offers various USB 3․0 and 2․0 ports; test them all․
If certain devices aren’t recognized, check Device Manager for errors․ Insufficient power can also cause issues, especially with USB 3․0 devices․ Avoid using multiple high-power USB devices on a single USB controller․ In the BIOS, verify that XHCI Hand-off is enabled for better USB 3․0 compatibility․ A BIOS update might also resolve underlying USB controller bugs․
BIOS Reset Procedures
Resetting the BIOS on your ASUS Maximus VIII Hero can resolve many system issues․ The simplest method is the “Clear CMOS” jumper․ Locate the CLRTC jumper on the motherboard (refer to your manual for its exact position)․ Power off the system and unplug the power cord․ Move the jumper to the other position for about 5-10 seconds, then return it to its original position․
Alternatively, you can remove the CMOS battery (a small, coin-sized battery) for approximately 5 minutes with the system powered off and unplugged․ Reinsert the battery and power on the system․ This will revert the BIOS to its factory defaults․ Remember to reconfigure your BIOS settings after a reset, including boot order and XMP profiles․