Heggies Pizza Instructions: A Comprehensive Guide
Welcome! This guide provides detailed steps for perfectly baking Heggies pizza at home, ensuring a delightful experience. Preheat your oven to 450°F, and prepare for cheesy goodness!
Understanding Heggies Pizza
Heggies Pizza represents a unique frozen pizza experience, deeply rooted in a tradition of quality and flavor. Originating as a local favorite, Heggies has gained a dedicated following due to its distinct crust and generous toppings. Unlike many mass-produced frozen pizzas, Heggies prioritizes a homemade taste and texture, striving to deliver a restaurant-quality meal conveniently.
The key to understanding Heggies lies in recognizing its commitment to using quality ingredients and a specific baking process. The pizza is designed to be cooked at a relatively high temperature – 450°F – to achieve a crispy crust and perfectly melted cheese. It’s important to note that consistent monitoring during baking is crucial, as oven variations can impact cooking times.
Heggies isn’t simply a frozen product; it’s a culinary experience built on decades of perfecting a beloved recipe. Understanding this foundation will help you achieve the best possible results when preparing your Heggies pizza at home.
What Makes Heggies Unique?
Heggies Pizza distinguishes itself from competitors through a combination of factors, starting with its distinctive crust. It’s not overly thin or excessively thick, striking a balance that provides both crispness and a satisfying chew. This texture is a cornerstone of the Heggies experience. Beyond the crust, the sauce recipe is a closely guarded secret, contributing a unique flavor profile that customers consistently praise.
Another key differentiator is the generous application of toppings. Heggies doesn’t skimp on cheese or other ingredients, ensuring each slice is packed with flavor. The pizza’s construction also plays a role; the layering of ingredients is carefully considered to optimize taste and texture during baking.
Finally, Heggies’ commitment to a higher cooking temperature (450°F) sets it apart. This higher heat helps to create a superior finished product, but also necessitates careful monitoring to prevent burning. It’s this combination of quality ingredients, thoughtful construction, and specific baking instructions that truly makes Heggies unique.
Types of Heggies Pizza Available
Heggies Pizza offers a diverse selection to cater to various tastes, though availability can vary by location. The classic pepperoni remains a perennial favorite, consistently delivering a satisfying combination of savory meat and melted cheese. For those seeking a meatier experience, the sausage pizza is a popular choice, featuring generously portioned Italian sausage.
Beyond the standard options, Heggies frequently introduces specialty pizzas. These limited-time offerings often incorporate unique flavor combinations and premium ingredients, providing a refreshing alternative to the classics. Common variations include supreme (pepperoni, sausage, vegetables), and occasionally, more adventurous options like buffalo chicken or BBQ chicken.
Heggies also provides size options, typically including a standard size perfect for families and a smaller size ideal for individuals or smaller households. Regardless of the chosen variety, all Heggies pizzas share the brand’s commitment to quality ingredients and a consistently delicious experience. Always check local stores for current offerings!
Preparing to Cook Your Heggies Pizza
Get ready! Ensure your oven is clean and ready for baking. Remove the pizza from its packaging and prepare for optimal cooking conditions for best results.
Preheating Your Oven
Crucial First Step: Preheating your oven is absolutely essential for achieving a perfectly cooked Heggies pizza. The recommended preheating temperature is a consistent 450°F (232°C). Allow sufficient time for your oven to reach this temperature – typically around 15-20 minutes, but this can vary depending on your oven model.
A properly preheated oven ensures that the crust cooks evenly and becomes delightfully crispy, while the cheese melts beautifully and bubbles to golden perfection. Don’t rush this step! Using an oven thermometer can help verify the accuracy of your oven’s temperature setting, guaranteeing optimal baking conditions.
An insufficiently heated oven will result in a soggy crust and unevenly melted cheese, diminishing the overall enjoyment of your Heggies pizza. Patience is key to pizza perfection!
Removing the Pizza from Packaging
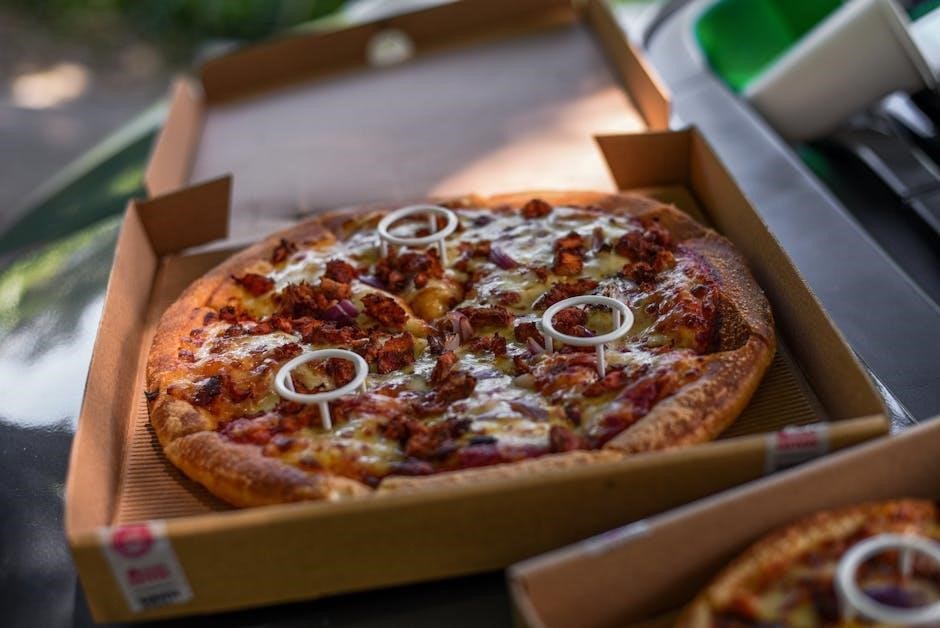
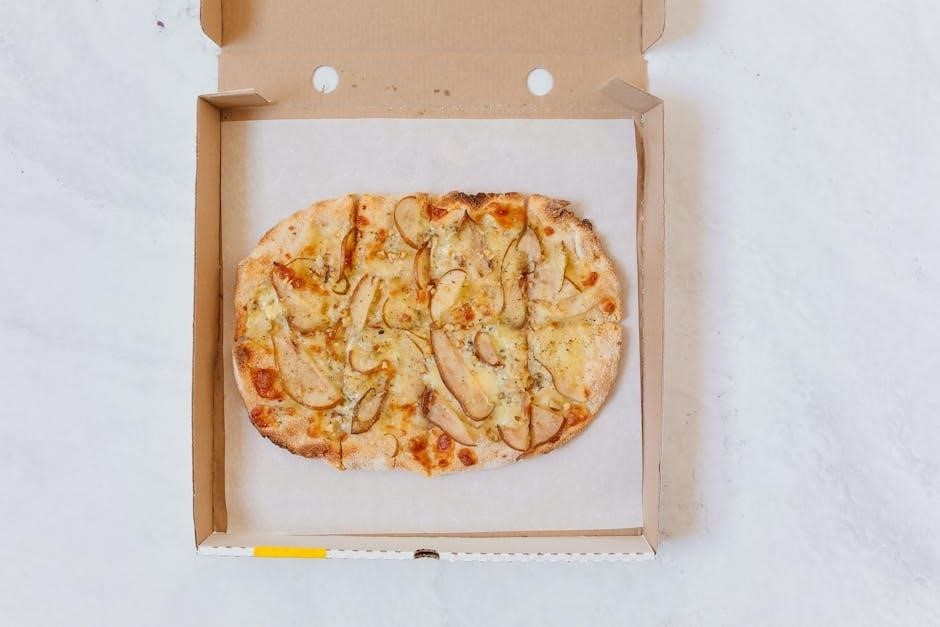
Preparation is Key: Once your oven is fully preheated, it’s time to prepare your Heggies pizza for baking. Carefully remove the pizza from its packaging, which typically includes a plastic wrapper and a cardboard base. Ensure you completely remove all packaging materials before placing the pizza in the oven – this is vital for food safety and prevents unwanted flavors or melting plastic!
Take care not to damage the pizza during unboxing. Gently peel back the plastic wrap, avoiding any pulling that could displace the toppings. The cardboard base is also designed for removal; discard it responsibly. Inspect the pizza to confirm no packaging remnants remain.
Handling the pizza with clean hands is recommended. Now that your Heggies pizza is liberated from its packaging, you’re one step closer to enjoying a delicious, homemade-style meal!
Optimal Oven Rack Placement
Strategic Positioning for Perfection: To achieve the best baking results with your Heggies pizza, proper oven rack placement is crucial. The universally recommended position is the middle rack. This placement ensures even heat distribution, allowing the crust to bake to a golden-brown crispness while the cheese melts beautifully and the toppings cook thoroughly.
Avoid placing the pizza on the bottom rack, as this can lead to a soggy crust due to proximity to the oven’s heating element. Similarly, the top rack might cause the cheese to burn before the crust is fully cooked. The middle rack strikes the perfect balance.
Ensure there’s sufficient space around the pizza for air to circulate. Don’t overcrowd the oven with other items. Proper rack placement, combined with the correct temperature and time, guarantees a consistently delicious Heggies pizza experience!
Cooking Instructions: Core Methods
Baking Basics: For a classic Heggies experience, preheat your oven to 450°F (232°C). Remove the pizza from its packaging and place it directly onto the middle rack.
Standard Oven Baking Instructions
Achieving Pizza Perfection: To begin, ensure your oven is fully preheated to a consistent 450°F (232°C). This temperature is crucial for achieving a crispy crust and perfectly melted cheese, hallmarks of a delicious Heggies pizza. Carefully remove the frozen pizza from all packaging – this includes the plastic wrapper and the cardboard base.
Place the pizza directly onto the middle rack of your oven. This positioning ensures even heat distribution, preventing any areas from becoming overcooked or undercooked. It’s important to check the pizza frequently during the baking process, as oven temperatures can vary. Consistent monitoring is key to avoiding burning and guaranteeing a satisfying result. Remember, baking times are guidelines, and your oven may require slight adjustments.
Bake until the cheese is bubbly and golden brown, and the crust is heated through. A thorough cook ensures both flavor and food safety. Don’t hesitate to rotate the pizza halfway through baking for even more consistent results!
Temperature: 450°F (232°C)
The Optimal Heat: Maintaining a consistent oven temperature of 450°F (232°C) is paramount when preparing Heggies pizza. This specific heat level is engineered to deliver the ideal balance between a crispy, golden-brown crust and fully melted, bubbly cheese. Lower temperatures may result in a soggy crust, while higher temperatures risk burning the toppings before the base is properly cooked.
Preheating is absolutely essential; allow your oven sufficient time to reach and stabilize at 450°F before introducing the pizza. Variations in oven calibration are common, so consider using an oven thermometer to verify the actual temperature. Consistent heat ensures even cooking throughout the entire pizza.
Remember to always check the pizza often, as individual ovens may require slight adjustments to baking time, even at the recommended temperature. This careful monitoring will guarantee a perfectly cooked Heggies pizza every time!
Baking Time Guidelines
Timing is Key: Generally, Heggies pizzas require approximately 15-20 minutes of baking time at 450°F (232°C). However, this is merely a guideline, and several factors can influence the precise cooking duration. These include your oven’s specific characteristics, the type of Heggies pizza you’re preparing (small vs. large), and your desired level of crispness.
Begin checking the pizza around the 15-minute mark. Look for a golden-brown cheese layer and a slightly browned, firm crust. It’s crucial to avoid relying solely on time; visual cues are more reliable indicators of doneness. Remember that ovens vary, and consistent monitoring is vital.
For smaller Heggies pizzas, reduce the baking time accordingly – typically around 12-15 minutes. Always prioritize checking for visual cues over strictly adhering to a predetermined time. A thorough internal temperature check (160°F / 71°C) provides ultimate assurance of complete cooking.

Monitoring and Achieving Perfect Doneness
Visual & Temperature Checks: Ensure golden-brown cheese and a 160°F (71°C) internal temperature. Frequent checks prevent burning, guaranteeing a perfectly cooked, delicious Heggies pizza!
Checking for Golden Brown Cheese
Visual Inspection is Key: Regularly observe the cheese during the baking process. The ideal indicator of doneness is a beautifully melted, evenly distributed, and golden-brown cheese layer. This visual cue signifies that the pizza is nearing completion and the flavors are melding together harmoniously. Don’t rely solely on time; ovens vary!
Color Variation & Hotspots: Pay attention to any areas where the cheese might be browning faster than others. These “hotspots” can occur due to uneven oven heating. Rotating the pizza halfway through the baking time can help ensure consistent browning across the entire surface. Look for a rich, appealing color – not burnt or pale.
Bubbling & Slight Caramelization: Beyond just color, observe the cheese for bubbling and slight caramelization around the edges. These are positive signs indicating that the sugars in the cheese are developing, enhancing the overall flavor profile. A slight crispness to the cheese is also desirable. Remember to check frequently, especially during the final few minutes of baking, to avoid overcooking.
Internal Temperature Check (160°F / 71°C)
Ensuring Food Safety: While visual cues are helpful, verifying the internal temperature is the most reliable method to guarantee your Heggies pizza is thoroughly cooked and safe to consume. Use a food thermometer inserted into the center of the pizza, avoiding the crust, to obtain an accurate reading.
Target Temperature: The recommended internal temperature for Heggies pizza is 160°F (71°C). This temperature ensures that all ingredients, including the cheese and any toppings, have reached a safe internal temperature, eliminating potential health risks. Don’t guess – a thermometer is essential!
Thermometer Placement & Multiple Readings: Insert the thermometer into several spots to confirm even heating. Variations can occur. If the temperature isn’t reached, continue baking in 2-3 minute increments, rechecking each time. Remember, carryover cooking will continue slightly after removal from the oven, so don’t overbake. Prioritize safety and deliciousness!
Avoiding Overcooking and Burning
The Delicate Balance: Achieving pizza perfection hinges on avoiding overcooking, which can lead to a dry, burnt experience. Heggies pizza, while delicious, can quickly transition from golden brown to charred if left unattended for too long. Frequent checking is absolutely crucial, especially as ovens vary significantly.
Visual Cues & Timing: Begin checking your pizza a few minutes before the recommended baking time elapses. Look for a golden-brown cheese layer and a slightly crisp crust. If the cheese is bubbling vigorously and starting to brown rapidly, it’s time to monitor even more closely.
Oven Variations & Adjustments: Remember that oven temperatures aren’t always precise. If you notice your pizza is browning too quickly, reduce the oven temperature slightly or move the rack to a lower position. Consistent monitoring and small adjustments are key to preventing burning and ensuring a perfectly cooked Heggies pizza every time. Don’t walk away!
Variations and Additional Tips
Elevate Your Experience! For small Heggies, reduce baking time. Adjust for oven differences, and feel free to add extra toppings before baking for a personalized touch.
Cooking Small Heggies Pizzas
Perfecting the Smaller Size: When preparing the smaller Heggies pizzas, a slightly adjusted approach to cooking time is crucial for achieving optimal results. These pizzas heat up and cook more rapidly than their larger counterparts, demanding closer monitoring to prevent burning or undercooking.
Generally, begin checking the pizza for doneness approximately 5-7 minutes into the standard 450°F (232°C) baking time. Look for a beautifully golden-brown and bubbly cheese layer, and a lightly browned crust. Remember that oven variations can significantly impact cooking times, so frequent visual checks are essential.
It’s also advisable to reduce the initial baking time estimate by a couple of minutes. Starting with a shorter cook time allows for more precise adjustments based on your oven’s performance. Consistent observation is key – a slightly shorter initial bake, coupled with attentive monitoring, will yield a perfectly cooked small Heggies pizza every time. Don’t hesitate to rotate the pizza halfway through for even browning!
Adjusting Cooking Time Based on Oven Variation
Oven Performance Matters: Recognizing that every oven behaves uniquely is paramount to successfully cooking a Heggies pizza. Variations in heating elements, calibration, and even altitude can influence baking times. The recommended 450°F (232°C) and time guidelines serve as a starting point, not a rigid rule.
If you notice your pizza is browning too quickly, reduce the baking time by a minute or two. Conversely, if the cheese isn’t melting and the crust remains pale after the suggested time, extend the baking duration in one-minute increments. Frequent checks are vital – lift a corner to assess the crust’s color and ensure the cheese is bubbly and golden.
Pay attention to how your oven typically performs with frozen foods. If it tends to run hot, err on the side of caution and reduce the initial cooking time. Conversely, a slower oven may require a slightly longer bake. Remember to always check the internal temperature reaches 160°F (71°C) for safe consumption, adjusting time accordingly.
Adding Extra Toppings (Before Baking)
Personalize Your Pizza: Heggies provides a fantastic base, but feel free to elevate your experience with additional toppings! The key is to add them before baking to ensure they cook properly and meld with the existing flavors. Consider complementing the existing ingredients with your favorites.
Popular choices include sliced pepperoni, cooked sausage, mushrooms, bell peppers, onions, or even a sprinkle of red pepper flakes for a touch of heat. However, avoid overloading the pizza, as excessive toppings can lead to a soggy crust and uneven cooking. A light, even distribution is best.
If using vegetables with high water content, like fresh tomatoes, consider lightly pre-cooking them to reduce moisture. Ensure any added meat is fully cooked before placing it on the pizza. Remember to monitor the cooking process closely, as extra toppings may slightly increase the required baking time. Enjoy your customized Heggies creation!

Serving and Enjoying Your Heggies Pizza
Savor the Flavor! Carefully remove your cooked Heggies pizza and let it cool slightly before slicing; Enjoy immediately with your favorite sides and beverages!
Safe Handling After Cooking
Caution is Key! Once your Heggies pizza emerges from the oven, remember it will be exceptionally hot. Utilize oven mitts or heat-resistant gloves when removing the pizza from the oven to prevent burns. Place the pizza on a heat-safe surface, such as a cutting board or trivet, to avoid damaging your countertops.
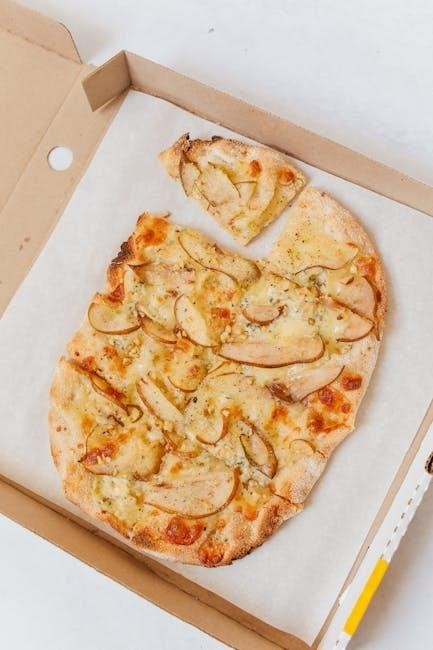
Allow the pizza to cool for a few minutes before attempting to slice it. This cooling period not only protects your hands but also allows the cheese to set slightly, resulting in cleaner cuts. When slicing, use a sharp pizza cutter or knife, exercising caution to avoid accidental injuries.
If you have leftovers, promptly refrigerate them in an airtight container. Properly stored, leftover Heggies pizza can be safely enjoyed within 3-4 days. Always reheat pizza thoroughly to an internal temperature of 165°F (74°C) to eliminate any potential bacteria. Be mindful of potential allergens and dietary restrictions when sharing your Heggies pizza with others.
Recommended Serving Suggestions
Elevate Your Pizza Night! Heggies pizza is fantastic on its own, but consider these pairings to enhance your dining experience. A crisp, refreshing side salad with a light vinaigrette complements the richness of the pizza beautifully. Alternatively, a simple vegetable platter with your favorite dip offers a healthy and colorful contrast.
For beverage pairings, a cold, bubbly soda or a refreshing iced tea are classic choices. If you prefer something more sophisticated, a light-bodied beer or a glass of Italian wine can elevate the meal. Don’t forget a sprinkle of red pepper flakes for those who enjoy a little heat!
Heggies pizza is perfect for casual gatherings, family dinners, or a quick and satisfying meal. Consider offering a variety of dipping sauces, such as marinara, ranch, or garlic butter, to cater to different preferences. Enjoy every cheesy, delicious bite!